

THE DETAILS · REDMETEOR
Nine ways to lace.
One considered finish.
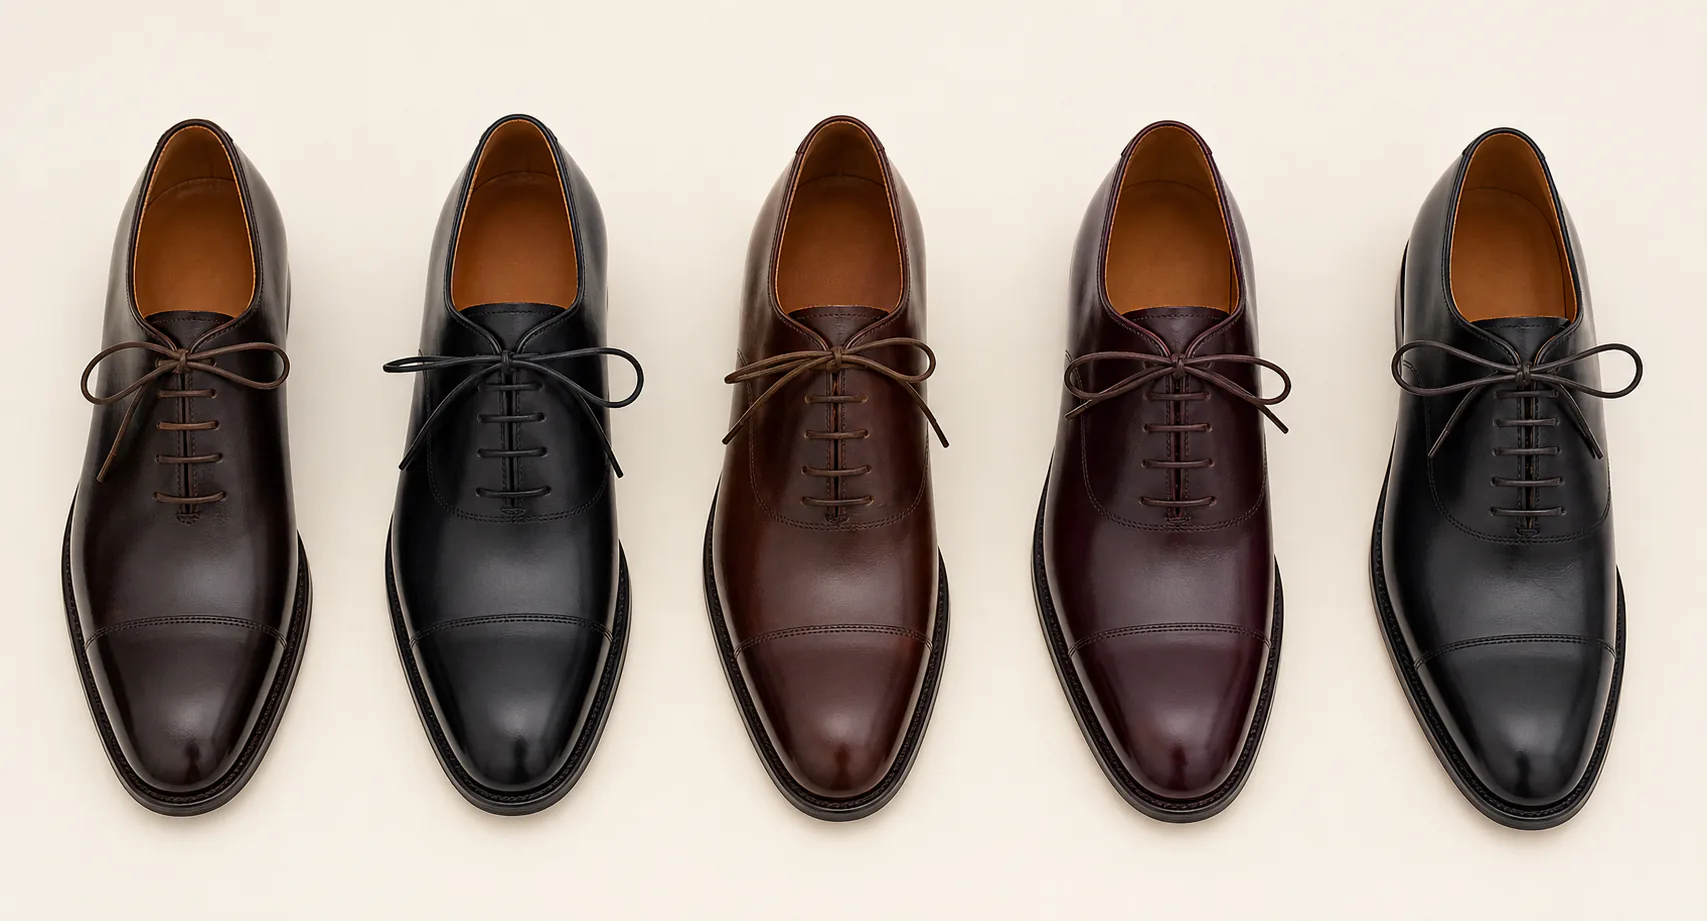
A well-laced dress shoe feels balanced, holds the foot securely, and completes the line of the upper. Choose a method that suits the shoe—and the way you wear it.
BEFORE YOU BEGIN
Start evenly.
Finish without strain.
Remove the old laces, open the quarters, and begin with equal lace lengths. Keep the tension even from the toe upward; tight lacing can distort the leather, while loose lacing allows the heel to move.
01 · FORMAL AND MINIMAL
Straight Bar Lacing
The clean horizontal bars keep the vamp calm and symmetrical. This is the classic choice for Oxfords and other formal closed-lacing shoes.
- Feed the lace down through the lowest pair of eyelets, keeping both ends even.
- Run one end straight up inside the shoe, then across the next available row.
- Alternate sides, creating a horizontal bar at every row.
- Bring both ends out through the top eyelets and tie a compact bow.
Best for Oxford shoes, formal occasions, a crisp symmetrical appearance.
02 · FAMILIAR AND FLEXIBLE
Criss-Cross Lacing
A dependable everyday method that adjusts easily and distributes tension evenly. It works especially well on Derby shoes with open quarters.
- Thread the lace up through the lowest eyelets and equalize both ends.
- Cross the ends over the tongue and feed them up through the next eyelets.
- Repeat the same crossing direction from toe to top.
- Adjust each row before tying so the crossings sit neatly centered.
Best for Derby shoes, daily wear, quick and easy adjustment.
03 · SMOOTH AND LOW-FRICTION
Over-Under Lacing
Alternating the crossings over and under reduces friction at the eyelets. The result tightens smoothly and places less wear on fine waxed laces.
- Begin as you would for criss-cross lacing.
- Cross the first pair over the tongue and feed through the next eyelets.
- At the following row, cross beneath the side sections before coming through.
- Continue alternating over and under until the top row.
Best for Frequent wear, waxed laces, smooth tightening and release.
04 · RELIEF WHERE YOU NEED IT
Gap Lacing
Leaving one section uncrossed creates extra room over a sensitive or higher instep without sacrificing support at the toe and ankle.
- Criss-cross normally from the lowest eyelets to the pressure point.
- Run each lace end vertically up to the next eyelet on the same side.
- Resume crossing above the gap and continue to the top.
- Walk briefly and fine-tune the rows above and below the gap.
Best for Higher insteps, localized pressure relief, long days on your feet.
05 · A BOW THAT STAYS PUT
Secure Double-Wrap Bow
A second wrap at the center gives smooth dress-shoe laces more grip while keeping the finished bow balanced and easy to untie.
- Cross the ends and complete the first half-knot, pulling it flat.
- Form one loop and wrap the other lace around it twice.
- Push a second loop through the opening behind the wraps.
- Pull both loops evenly and keep the finished bow horizontal.
Best for Smooth round laces, long wear, a compact and secure finish.
06 · REFINED WITH HIDDEN SUPPORT
European Straight Lacing
Horizontal bars remain visible on top while diagonal crossings underneath give the shoe secure, balanced tension. It is elegant without feeling overly rigid.
- Feed both ends down through the lowest pair of eyelets.
- Bring one end diagonally underneath to the next opposite eyelet, then straight across.
- Bring the other end diagonally to the following open row and cross it horizontally.
- Continue alternating until both ends emerge at the top.
Best for Oxford shoes, European styling, and dependable formal tension.
08 · A QUIET MODERN ANGLE
Diagonal Lacing
Parallel diagonals add direction and character while preserving a measured, uncluttered appearance. The result feels contemporary rather than decorative.
- Begin inside the lowest eyelets with both lace ends balanced.
- Take one end diagonally across and up one row.
- Run the other end vertically inside, then repeat the same diagonal direction.
- Continue the parallel pattern and finish with a compact bow.
Best for Derby shoes, contemporary tailoring, and subtle visual movement.
09 · SUPPORT AT THE TOP
Heel Lock Lacing
Small loops at the final eyelets create extra hold around the opening. Use it gently on suitable shoes to reduce heel movement without overtightening the lower rows.
- Lace normally until only the top pair of eyelets remains.
- Feed each end through the top eyelet on the same side to form two small loops.
- Cross the ends and pass each one through the opposite loop.
- Pull backward and slightly downward, then tie without compressing the instep.
Best for Boots and shoes with suitable eyelet spacing, mild heel movement, and secure walking.
A SMALL FINISHING NOTE
Let the leather rest.
Do not over-tighten.
Loosen several rows before taking your shoes off. Pulling the foot out while the laces remain tight strains the eyelets, quarters, and heel counter over time.